So you went online and saw the beautiful panoramics taken with Hasselblad Xpan (or Fuji TX for that matter), falling in love with the cinematic aspect ratio, that wide format spanning the natural field of vision and just the different way of approaching photography. Panoramic! That’s something I want. That’s something I must have!
Then you went on eBay and saw the prices: fetching for well over 4000€ these cameras have gone way over budget for all but the most serious photographers. And even if Xpan’s are still out there, you learn that they are fully electronic cameras and thus doomed to fail at some unknown point in the future turning these incredible pieces of art and engineering into paperweights. Doubts. Do you really want to own one?
For a film shooter it’s a story as old as time. You become aware of a cool piece of old tech just to see it’s already become a cult classic with a price tag to match, reliability issues and availability so limited that even JCH declines to search you one.
If you are willing to tolerate a little bit of quirks there is, however, an alternative which is still fairly affordable at 2024: Shooting panoramic with a medium format cameras using a few simple hacks.
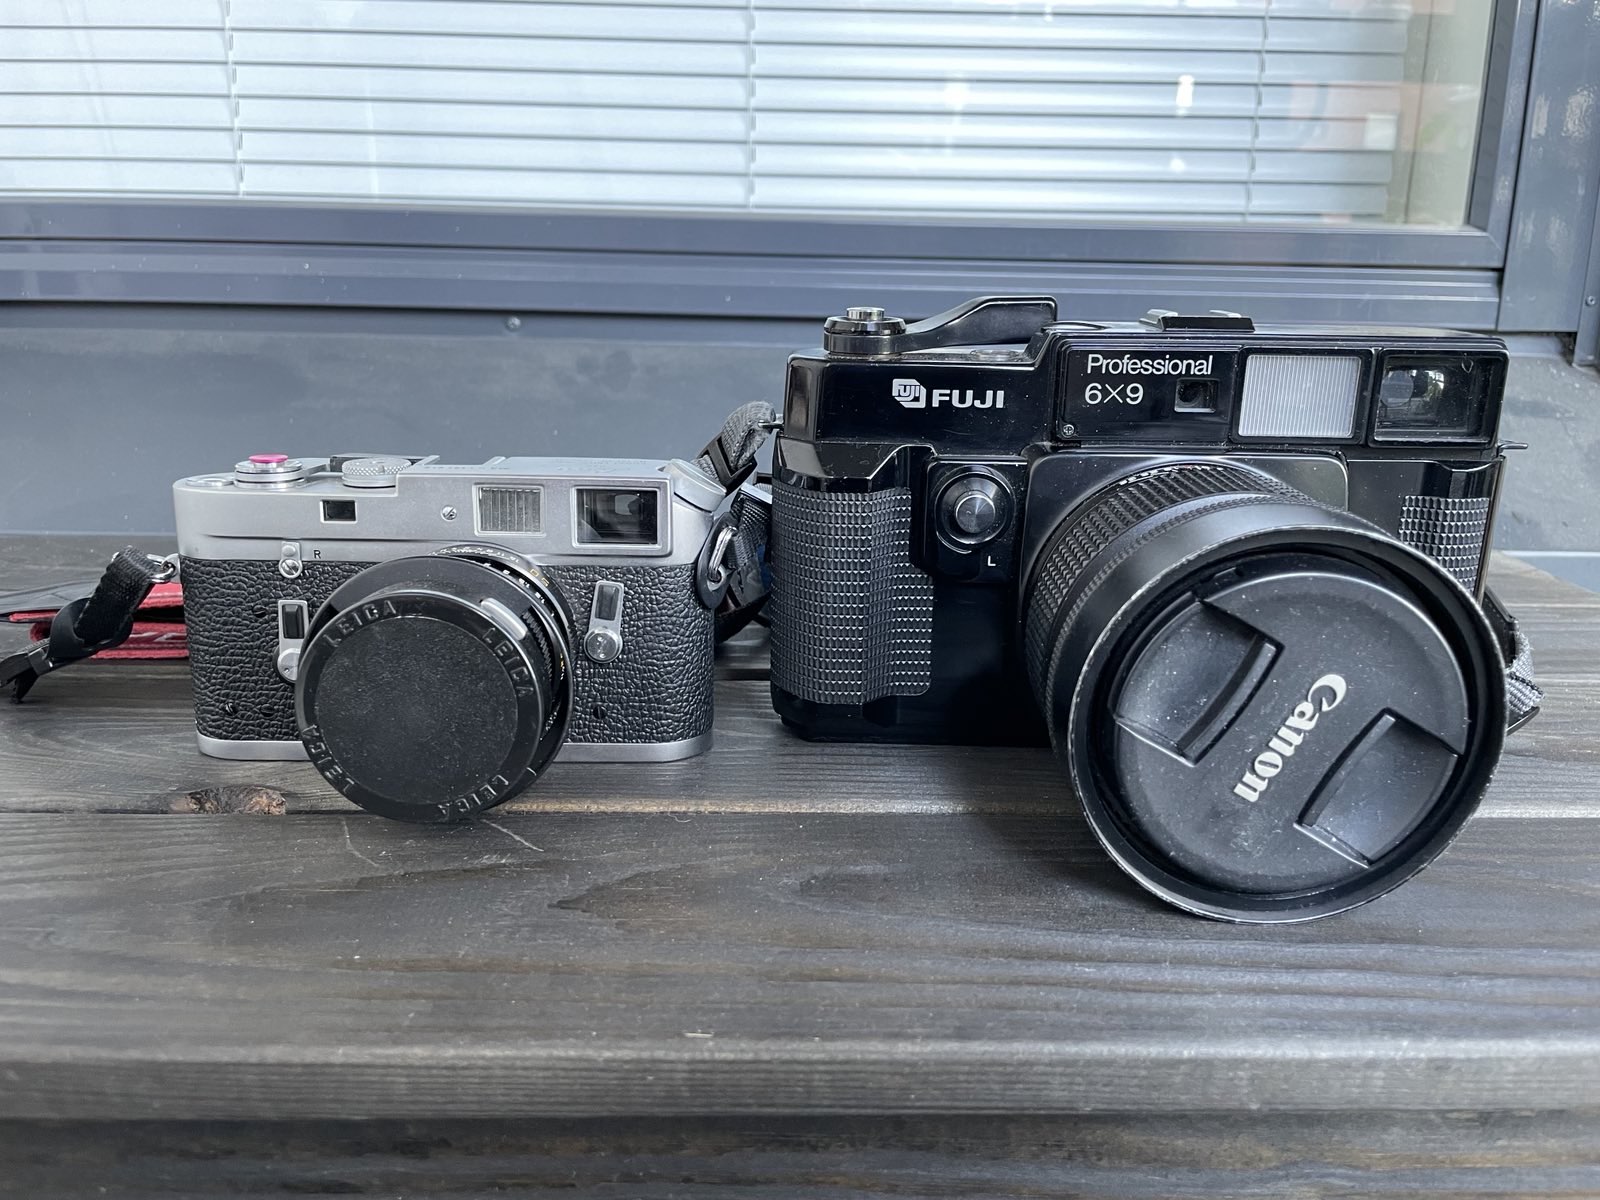
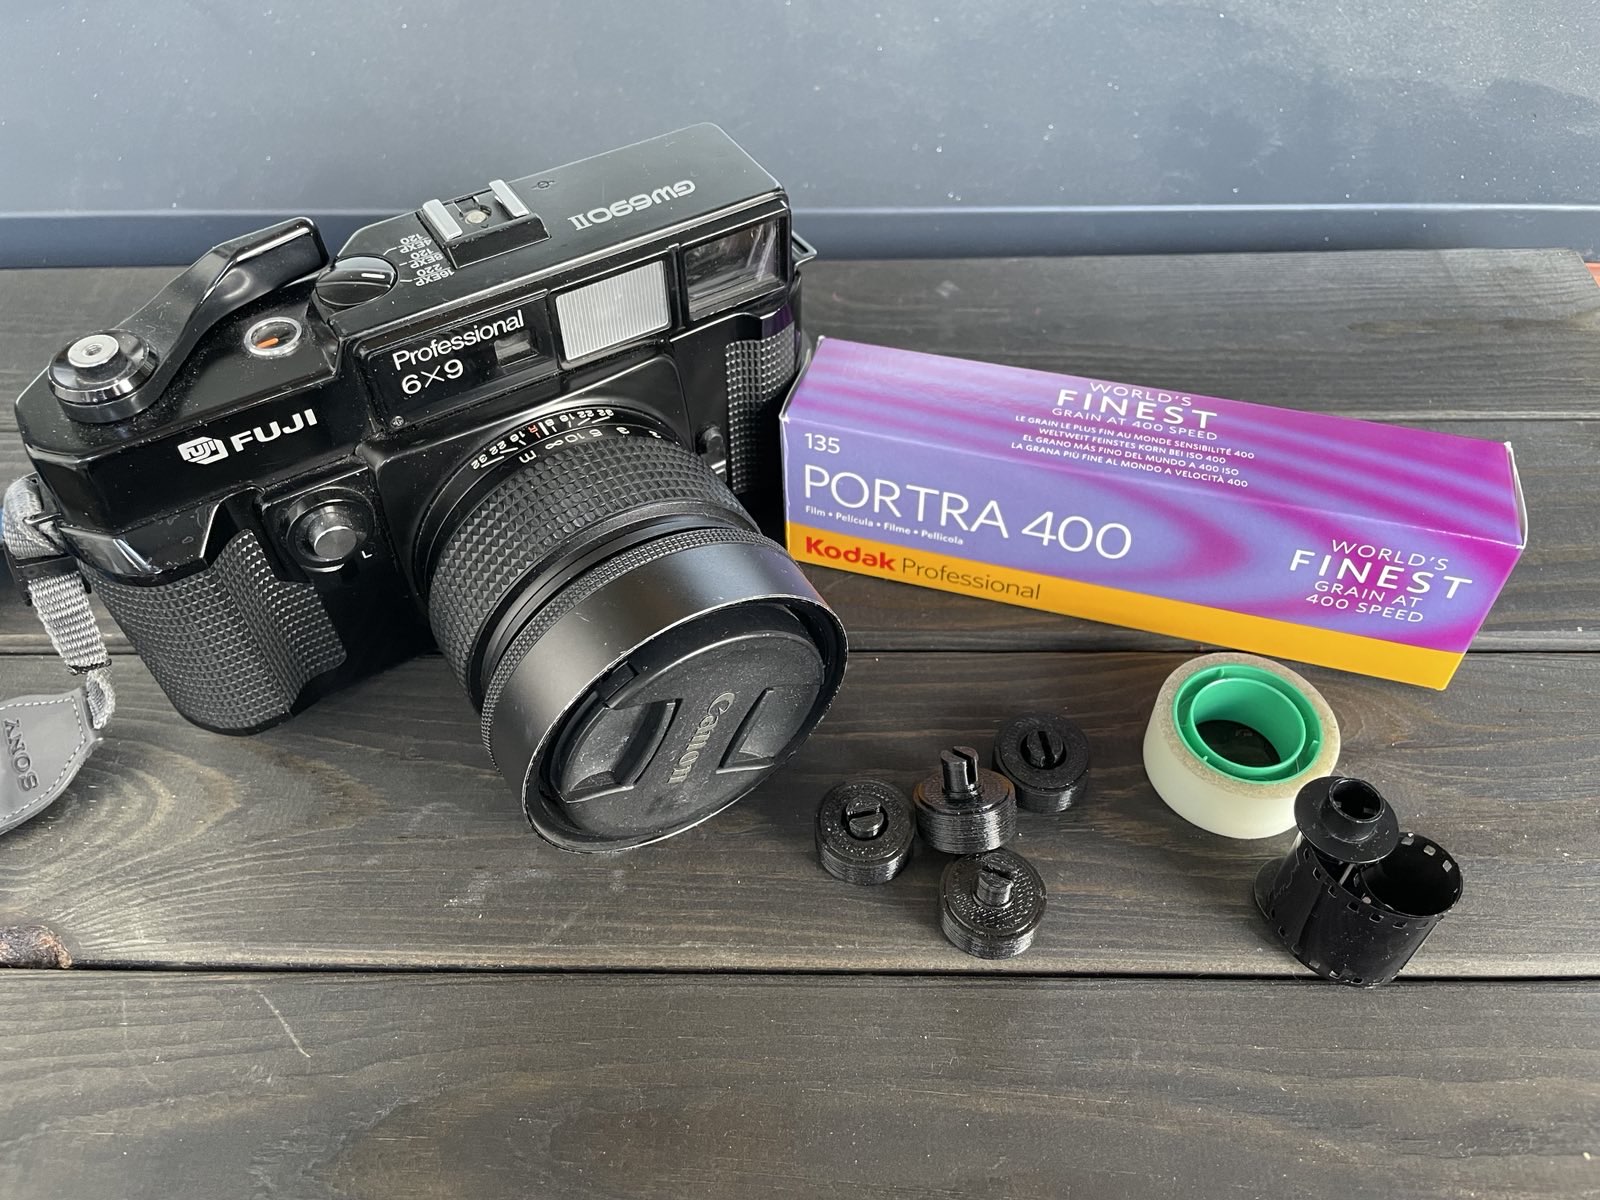
I went as wide as I just could (within reason!) and grabbed a Fuji GW690II for a bargain price of 600€ with the intention of turning this into my dedicated panoramic camera.
Main benefits for me over Xpan:
- Fully mechanical and thus won’t die on me mysteriously.
- Fuji glass renders gorgeous images.
- Theoretical option to shoot 6×9 medium format if 35mm isn’t available.
- You can get at least 5 of these for the price of one Xpan.
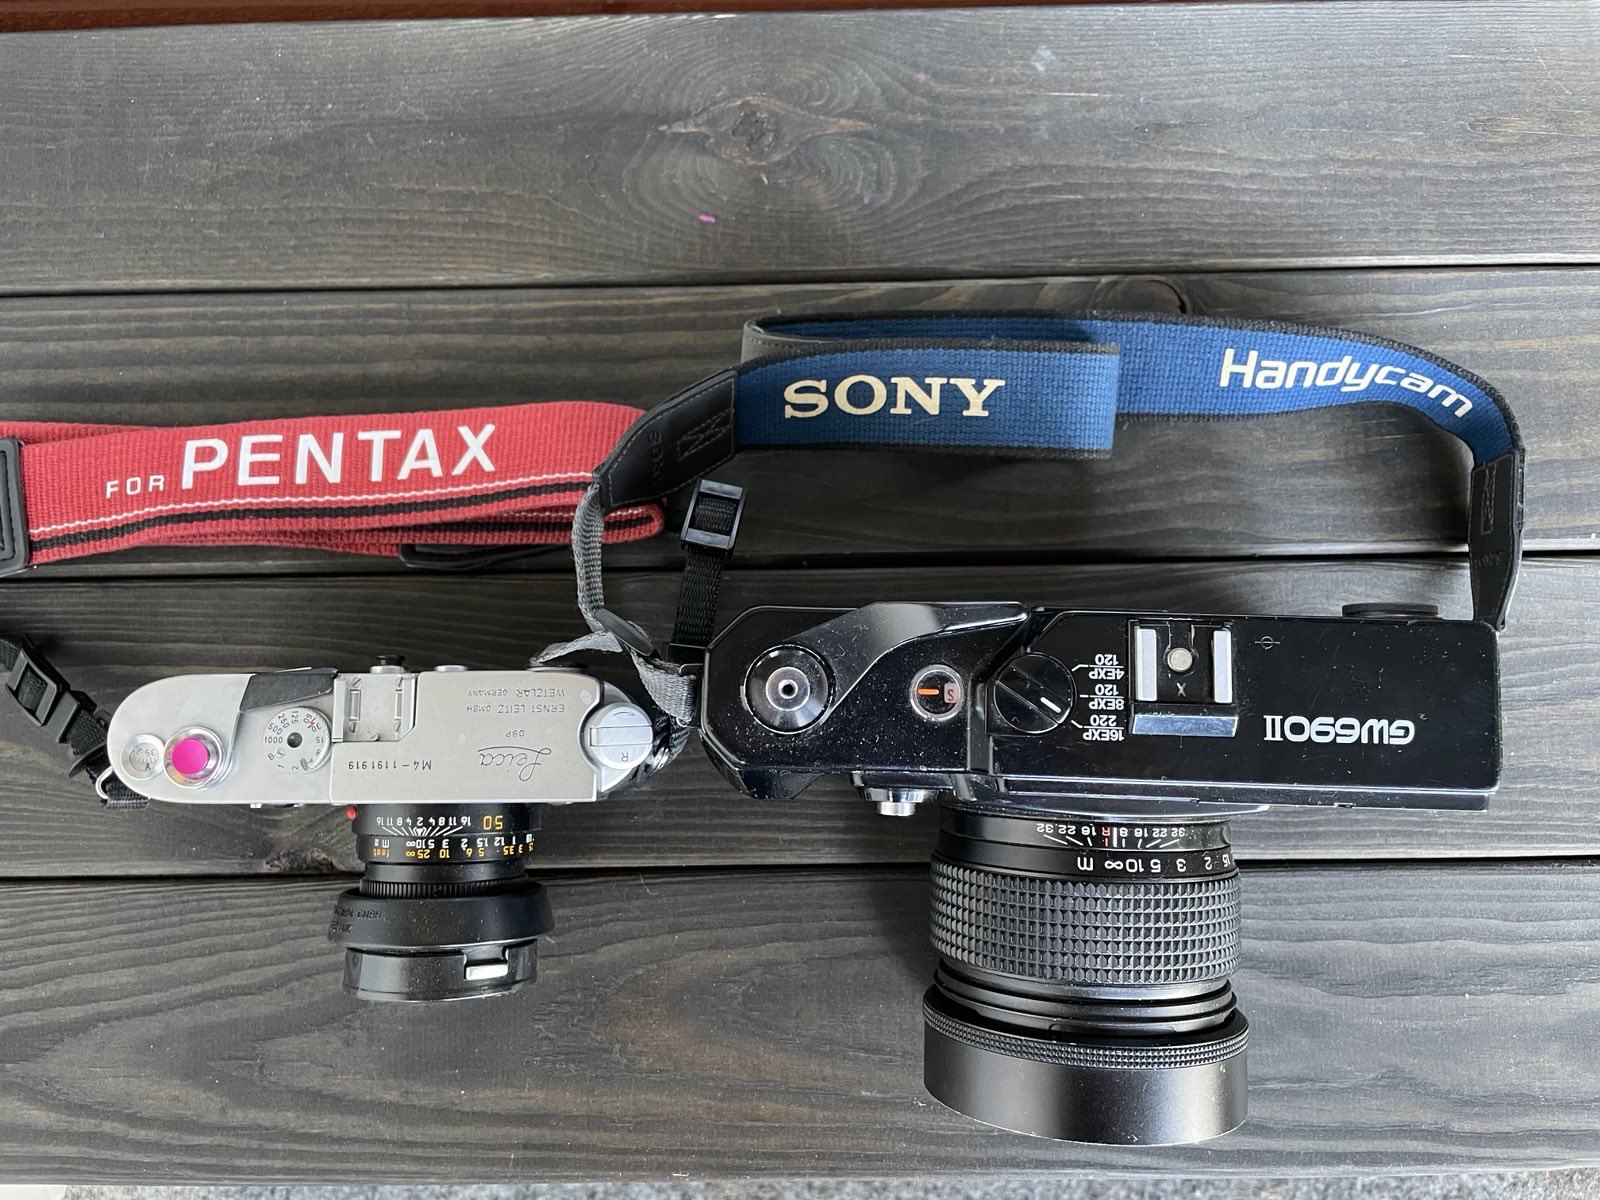
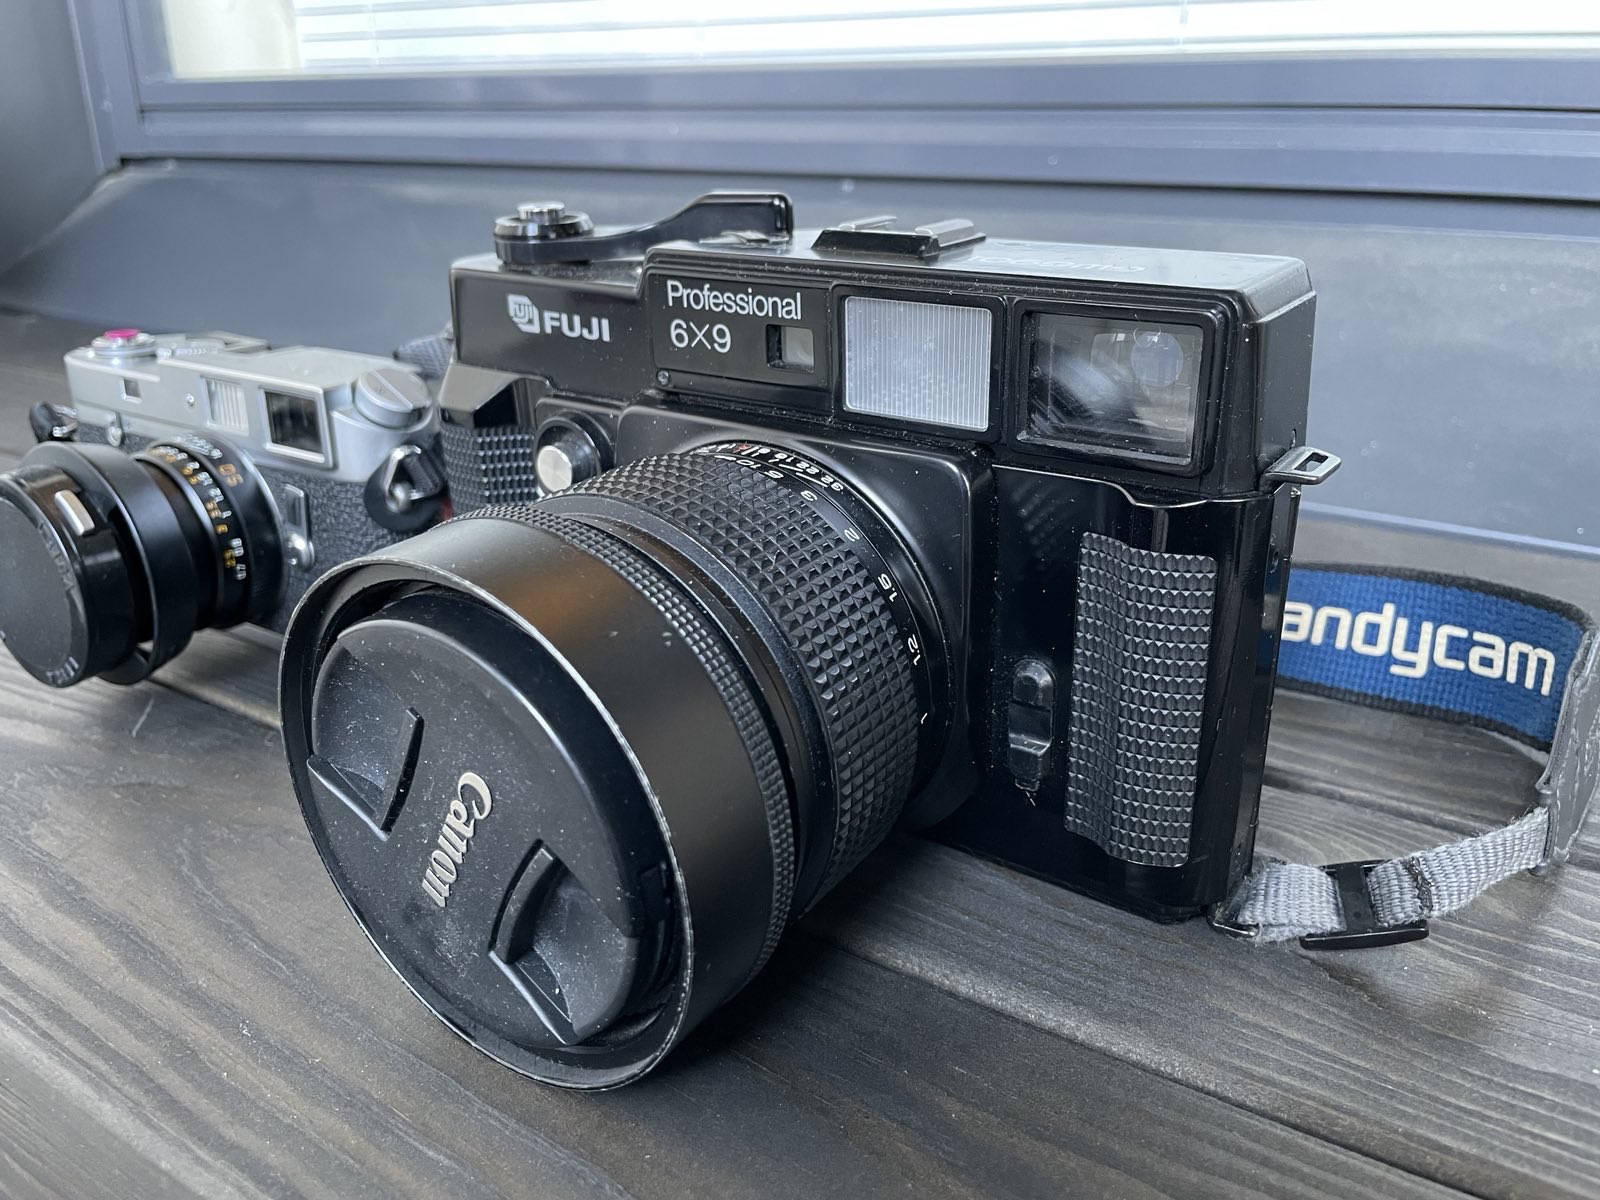
It also looks absolutely smashing. The Texas Leica.
Most of the hacks required to turn a GW690 into a TeXpan (and the specifics about it) are explained in awesome detail over at Emulsive.org in their article so I won’t dig too deep into different aspect ratios and specifics here and instead just focus onto the build itself.
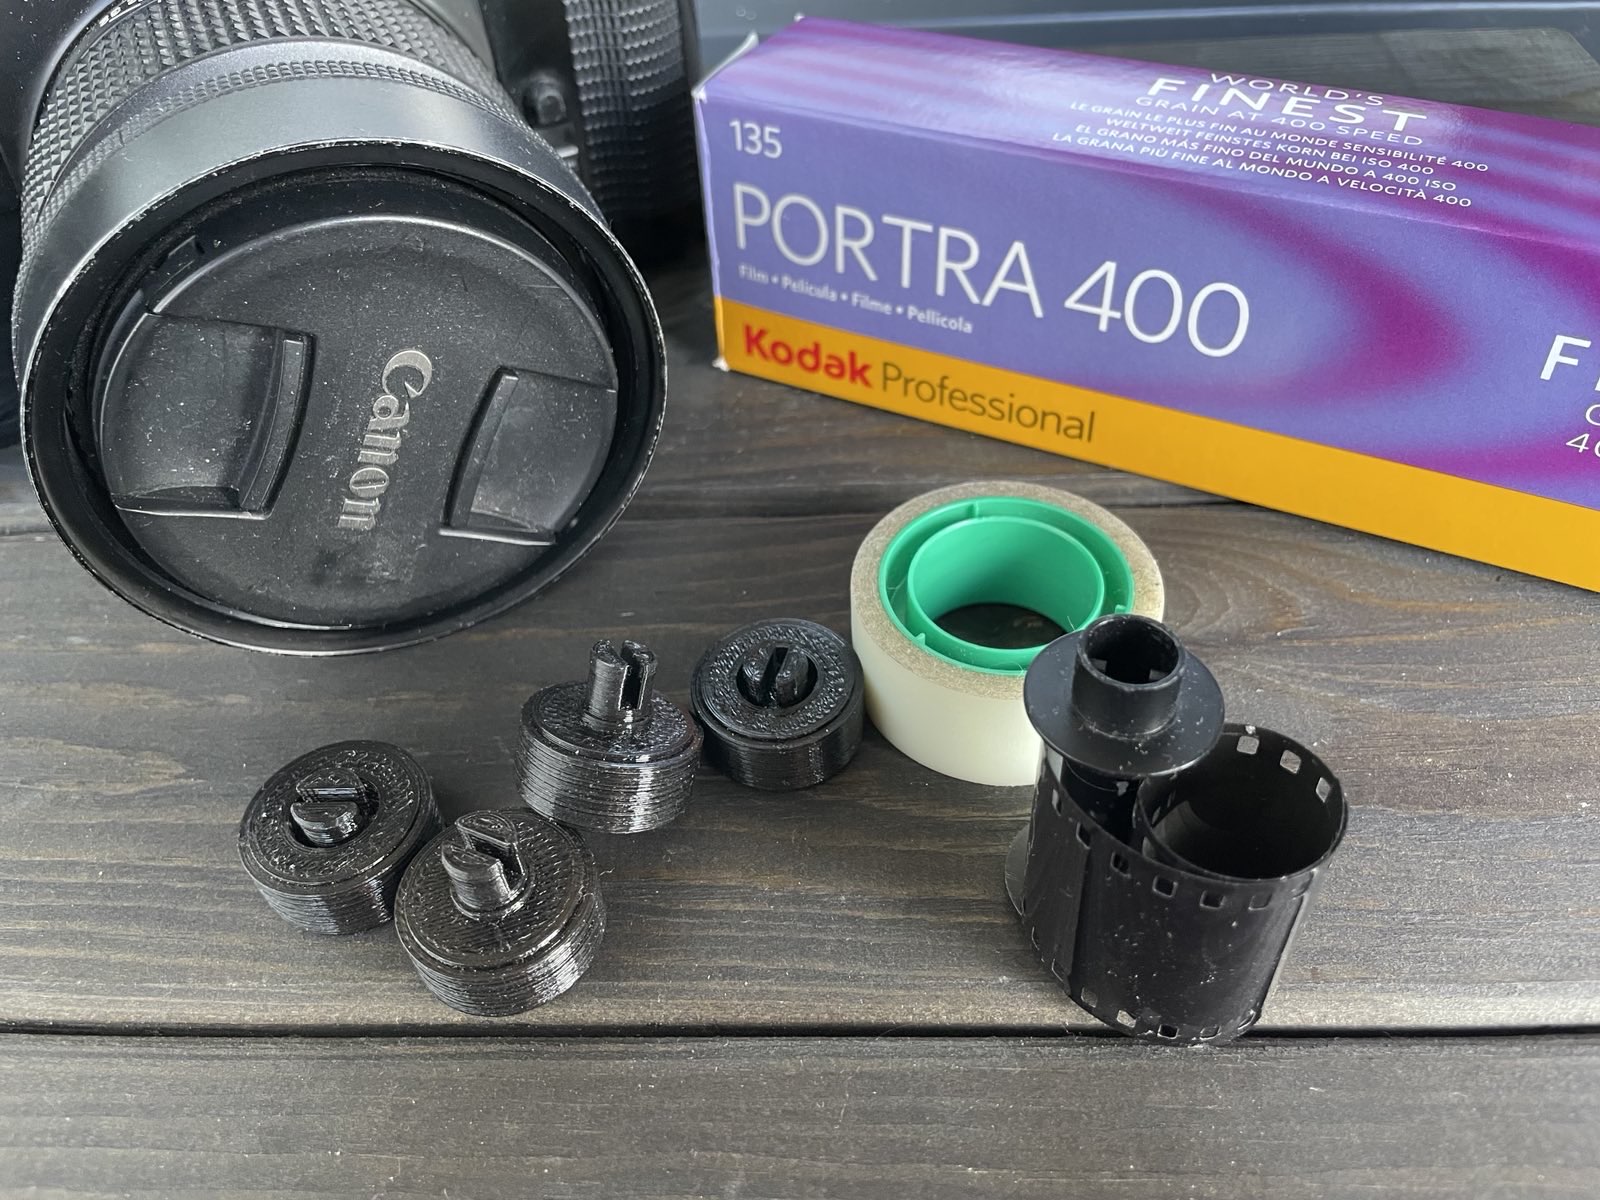
To begin, I 3D-printed some 35mm adapters by coconnor55 from Thingiverse which I find work decently well. I am hoping to re-print mine with a better printer as they came out a bit rough and required annoying amount of filing to fit. However considering that they work and fill their purpose, y’know, that probably won’t happen.
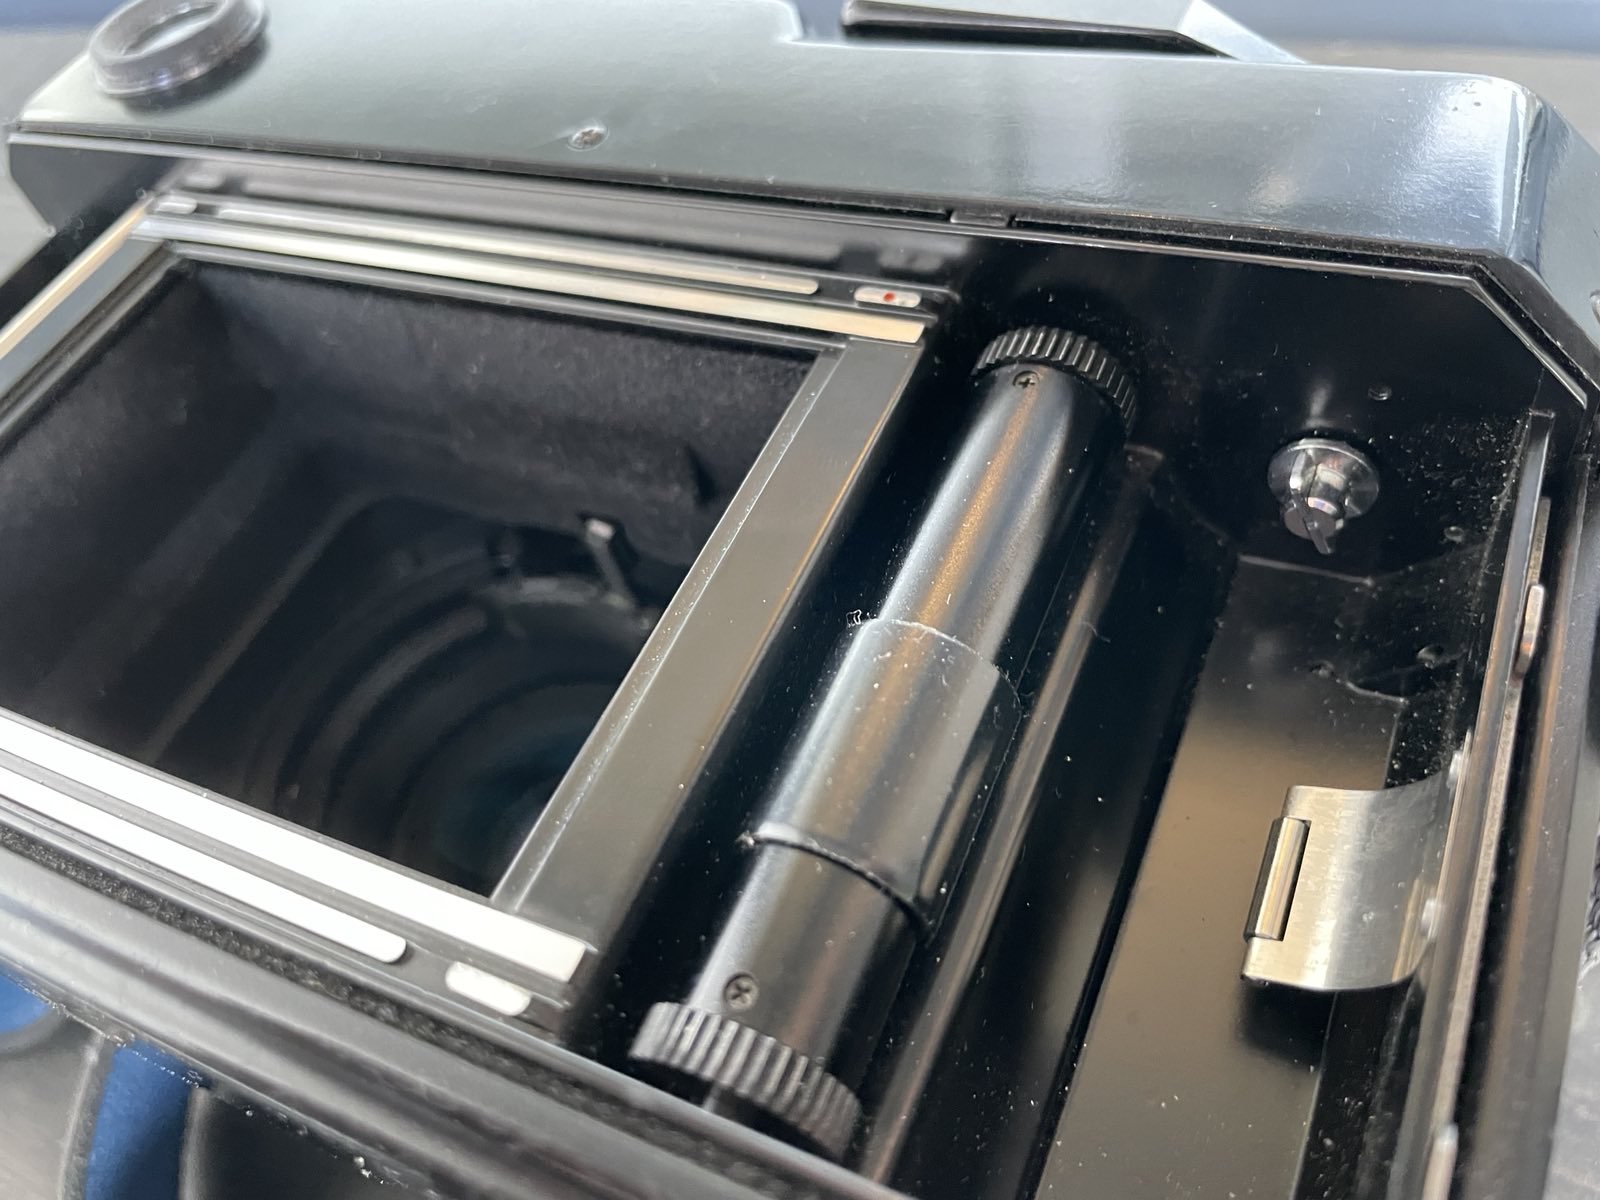
Next thing you want to do – as per Emulsive’s article – is to add some tape to thicken out the center part of the frame counter roller. I used normal electricians tape and I’ve found it works perfectly well. 120 film would catch the sprockets top and bottom of the roller, so you can somewhat use these for reference as for how much tape to add. It does pinch against another roller on the rear plate though, so don’t go too overboard.
So you got the film adapters and you got the frame counter roller set. How do you load the film? And how do you unload when you’re done?
As you might be familiar with, medium format 120 film doesn’t come in a metal canister. It’s protected by a layer of paper on both ends and simply ends up rolled from one spool (left, fresh film) to another (right, take-up spool). After shooting you therefore end up with an empty spool on the left side and a full one (exposed film) on the right.
Now, rather annoyingly, we cannot do that with the 35mm which is often attached to its tiny spool inside the canister.
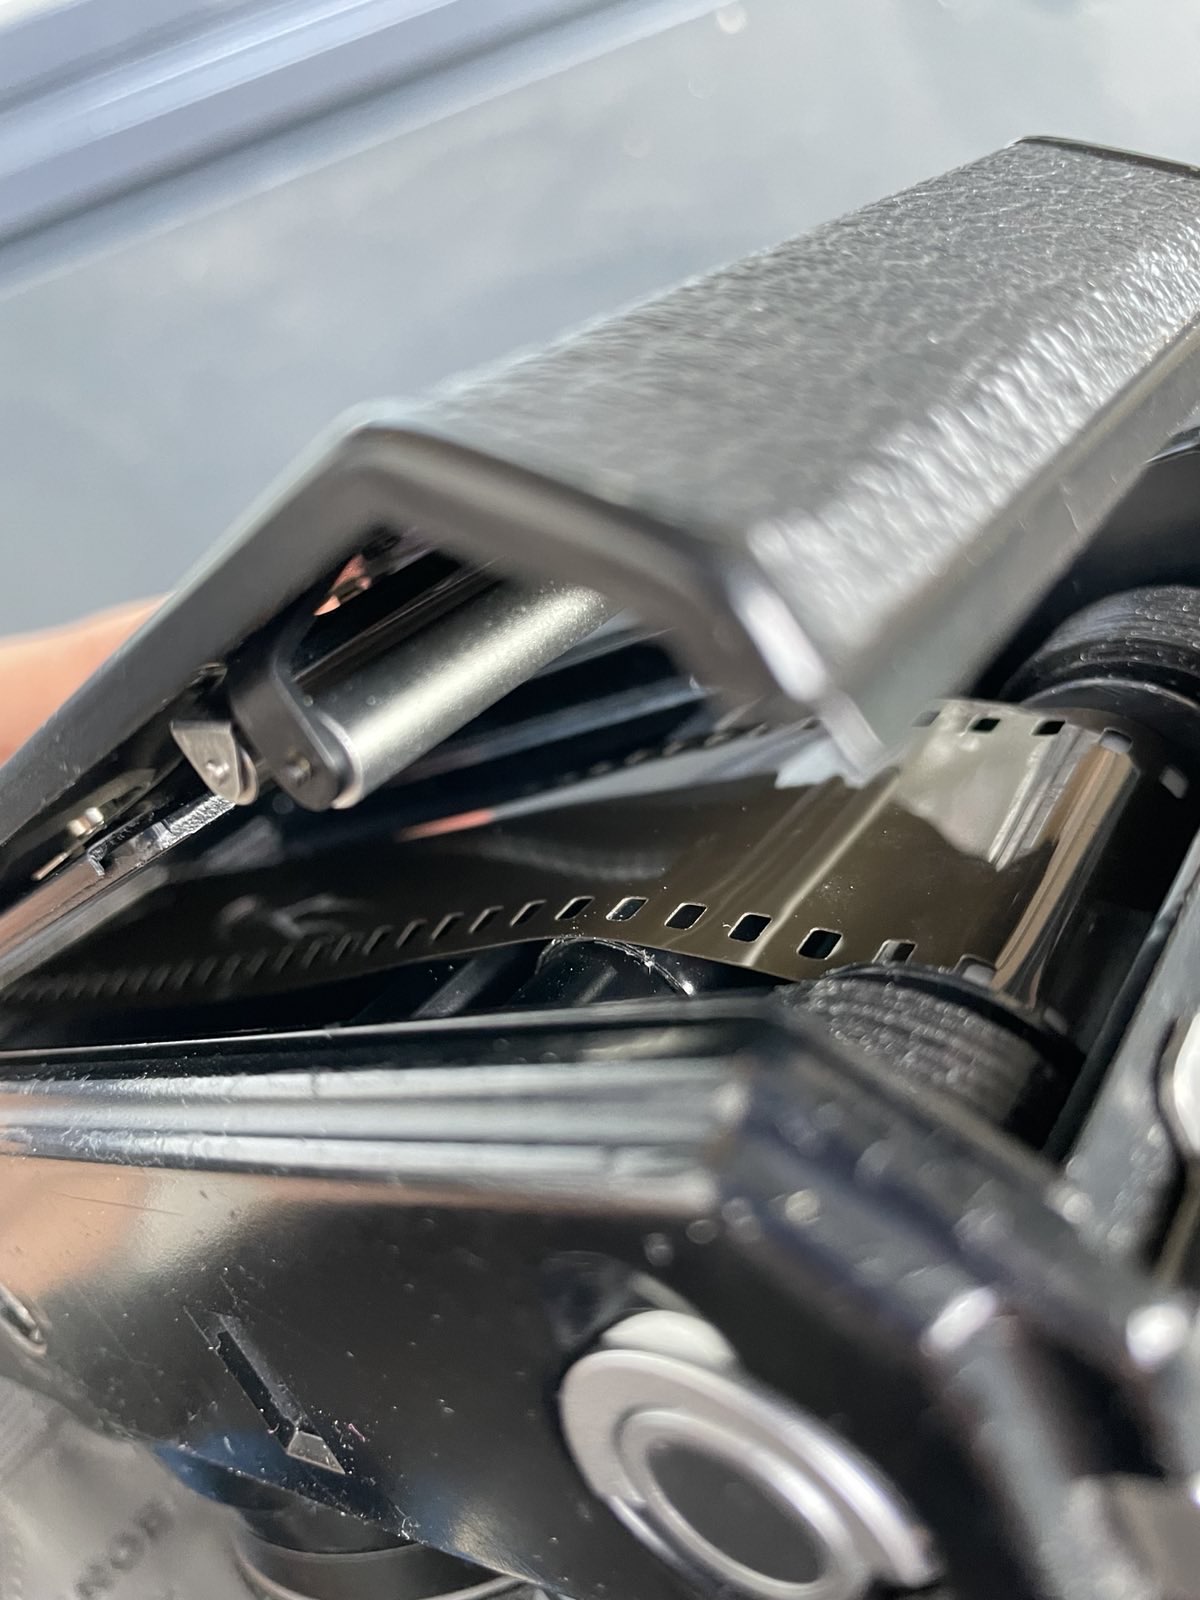
Emulsive suggests using two canisters which I found unnecessarely difficult and had some reliability issues with so instead I settled for using only the guts from one canister, securing a bit of unused film onto the spool and using that as a take-up spool without the outer shell.
Why extra bit of film instead of taping the fresh straight onto the take-up?
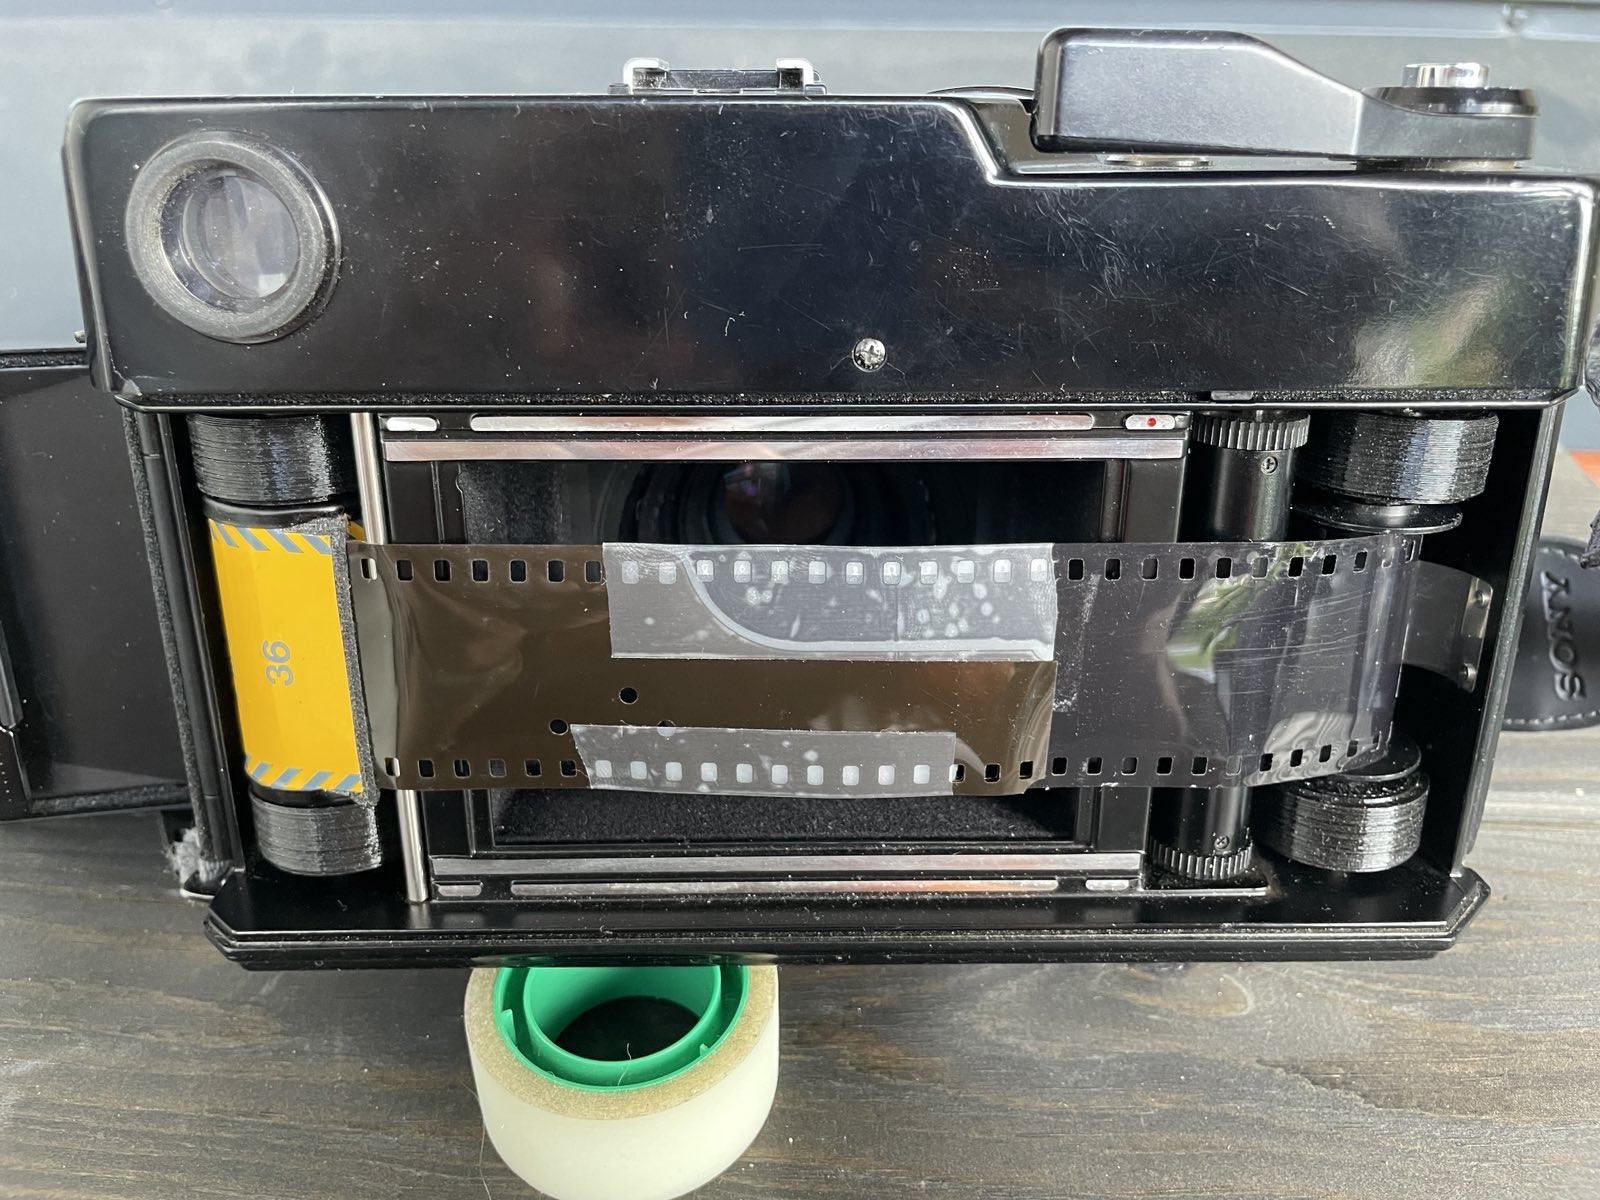
For squeezing out one extra frame of course! The exposed bit on the fresh film is kept shorter with the help of the leader on the take-up spool side. I use basic scotch tape to attach the film to the leader, for which I am sure there’d be better ways to do instead. With this setup I can get 14 exposures out from one 36exp roll.
You will also want to flip the backing plate onto 220 side as 35mm is thinner than 120 film. Remember to set the frame counter on top of the camera for 220 (16exp) too.
That’s it! You’re ready to go out and experience the TeXpan yourself.
Once you’re done, you will feel resistance trying to wind to the next frame. Do not use force on the winder or you will detach or damage the film. Simply put the camera into a dark bag, open the backplate inside the portable darkness, pop both spools out and rewind the film onto its canister as far as it goes with the taped leader. Finally open the bag, remove the tapes and roll it all the way.
Results?
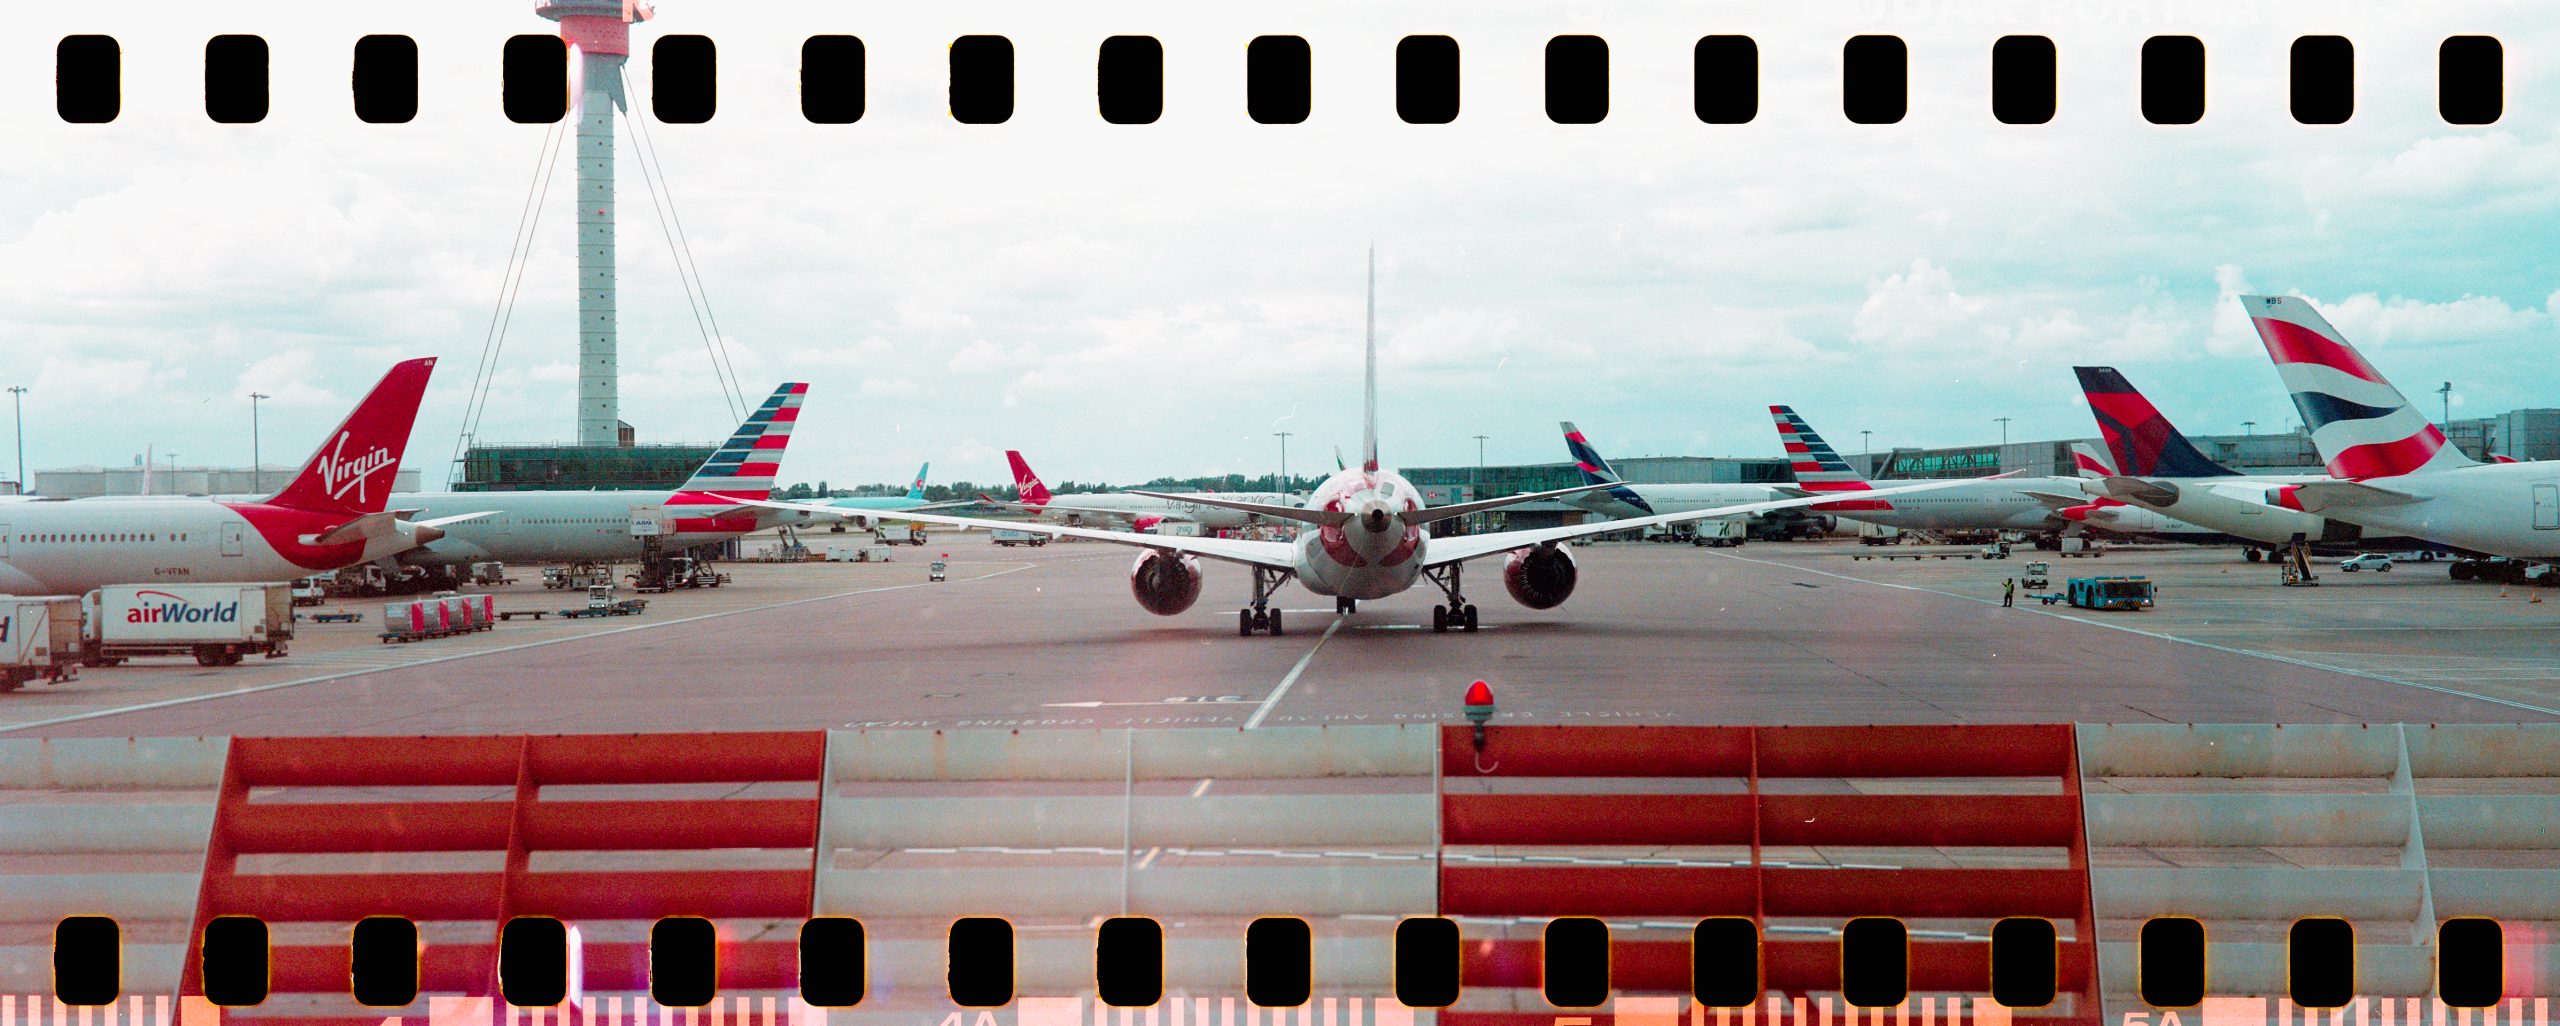
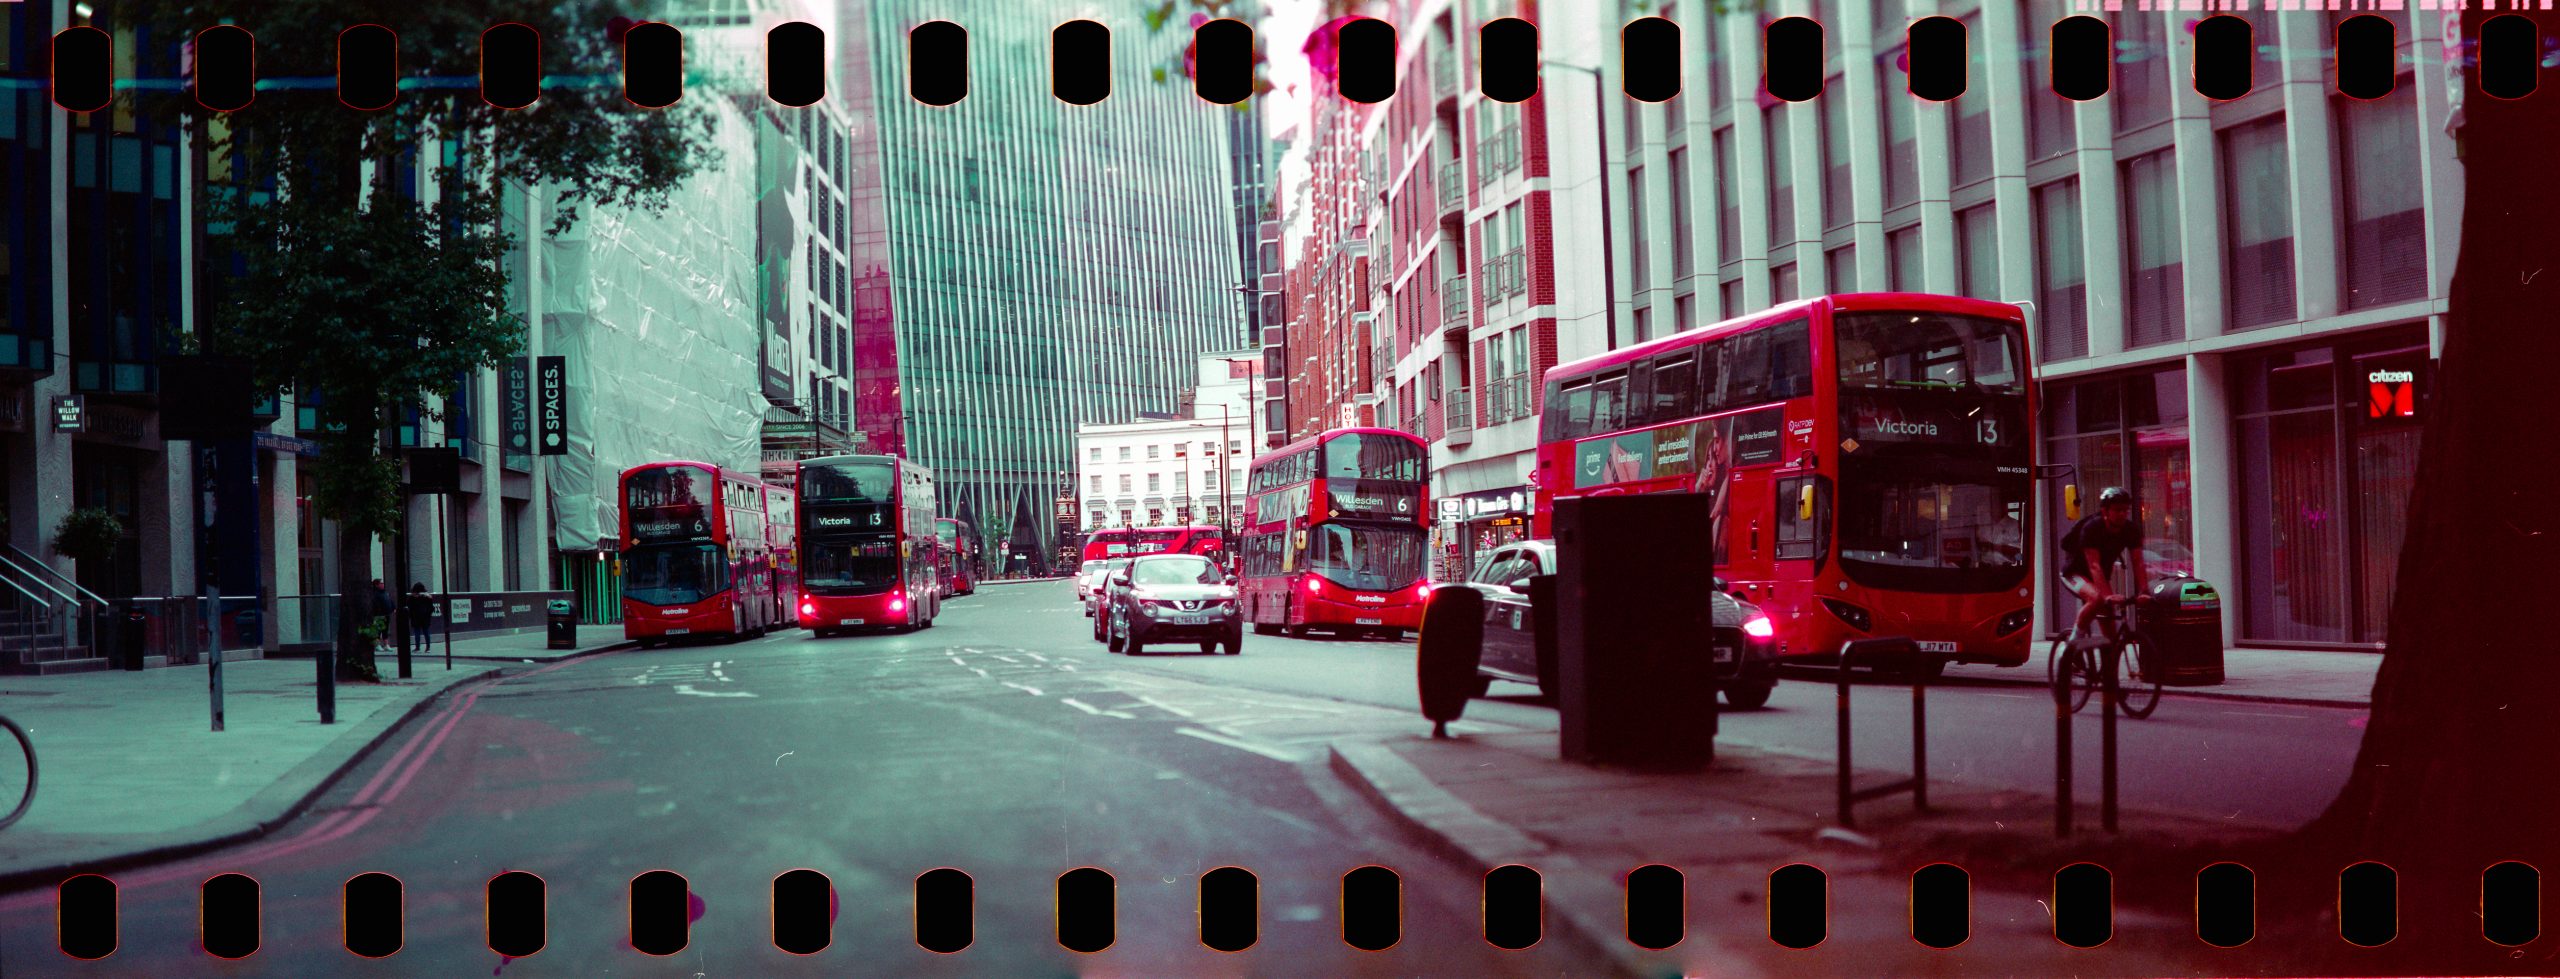
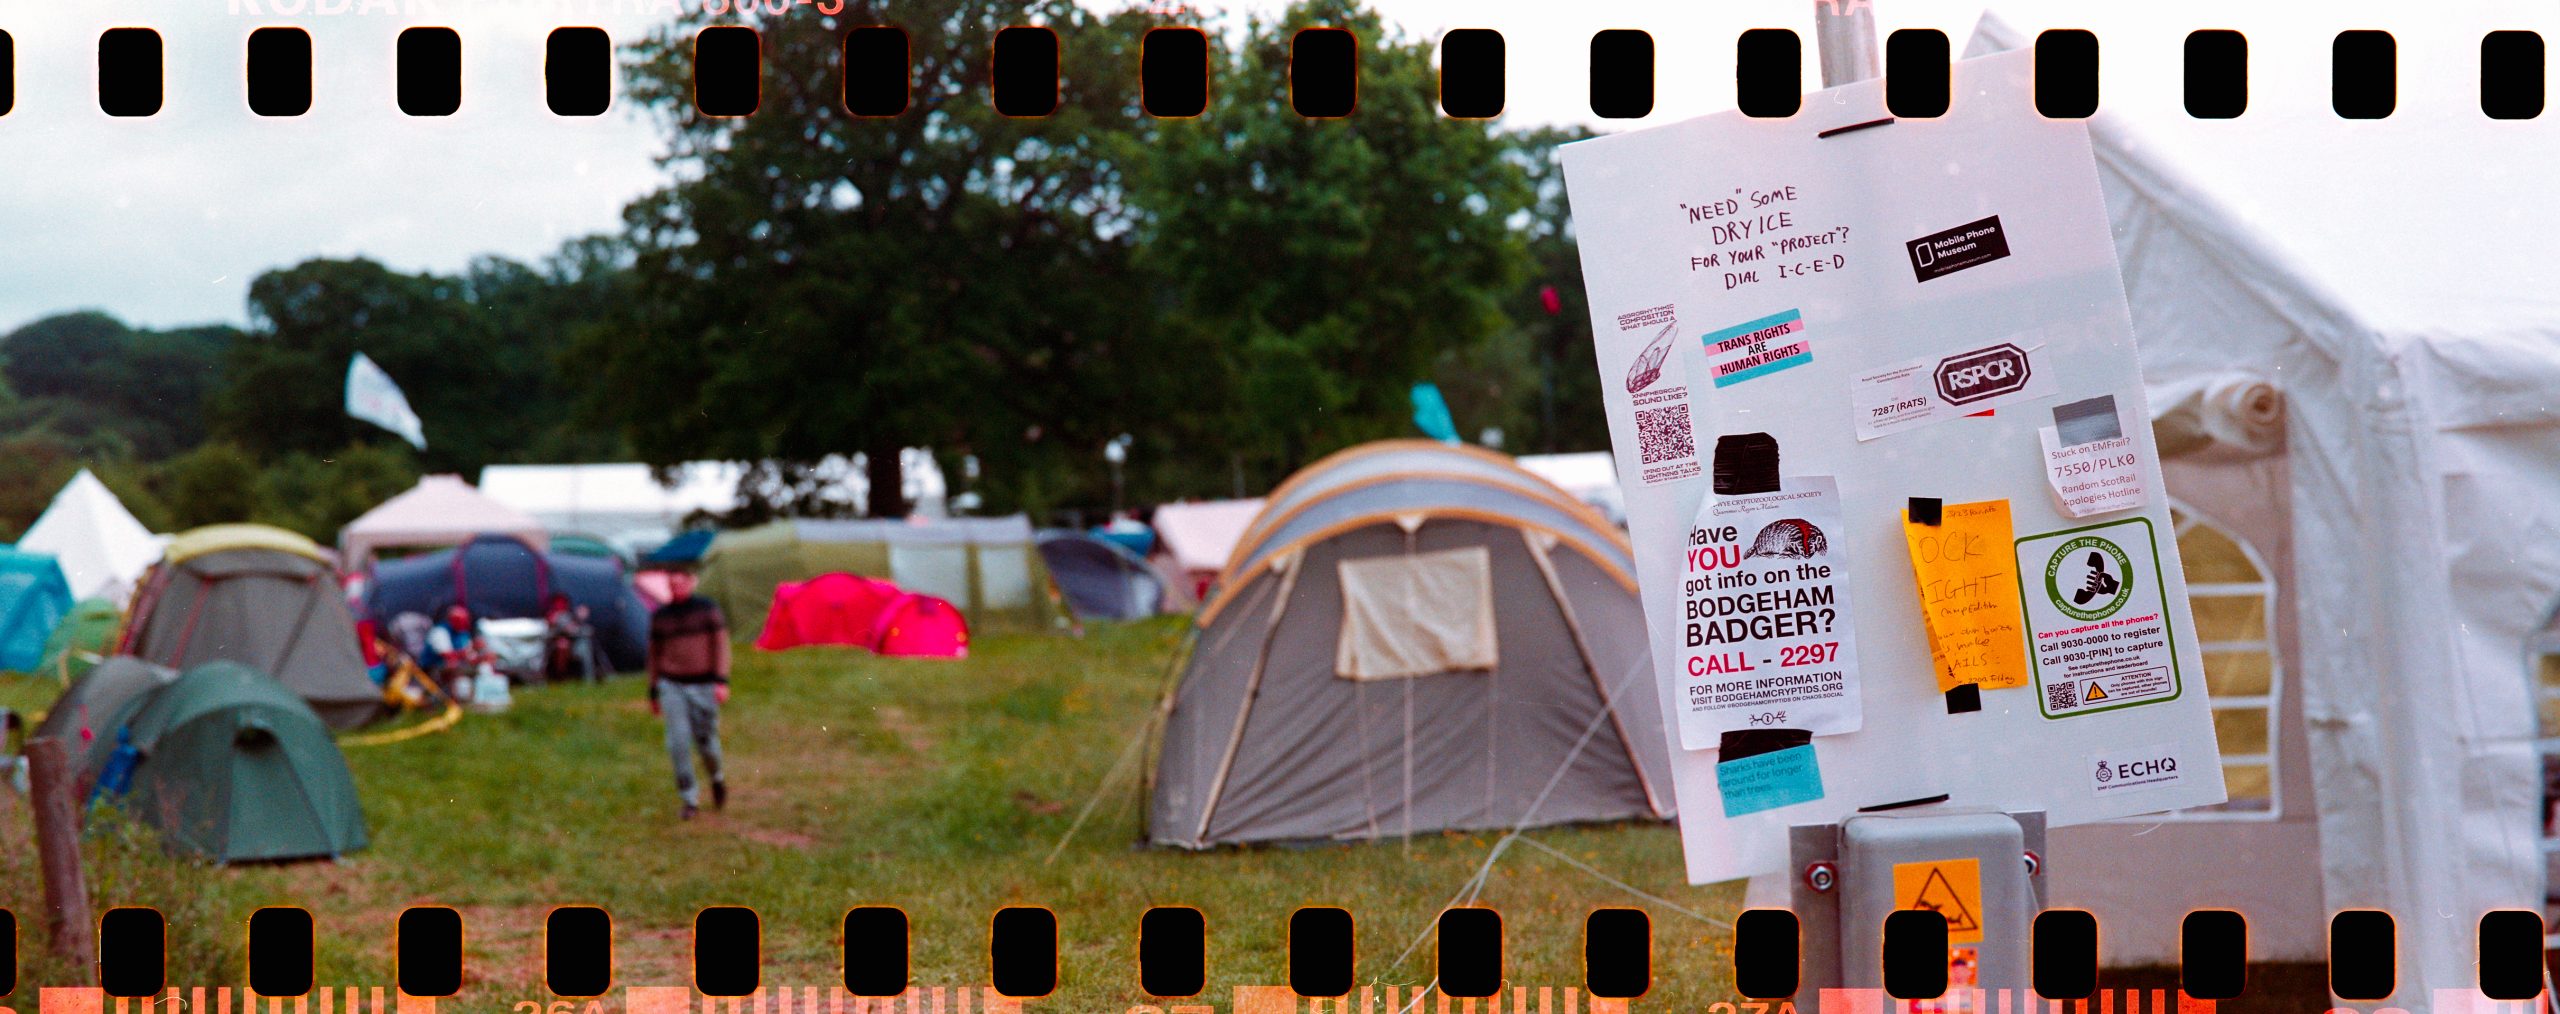

I love to scan these with the sprocket holes, you’d not get those with an Xpan!
For composition it is bit of a guessing game with only the 6×9 framelines on the rangefinder. Luckily it is not that difficult to estimate and with a few rolls down I have adapted to having a decent intuition about framing.

I am planning to get the panoramic frame lines added onto the rangefinder. I have taken the rangefinder apart twice “For Research Purposes” and it definitely looks doable. There are two thin metal screens projecting the lines: one fixed screen for the lower and the right side lines and another moving in front of that for upper and left side lines as well as the focus patch.
The moving screen allows your framelines to move when focusing closer (only the top and the left ones move, as does the focus patch).
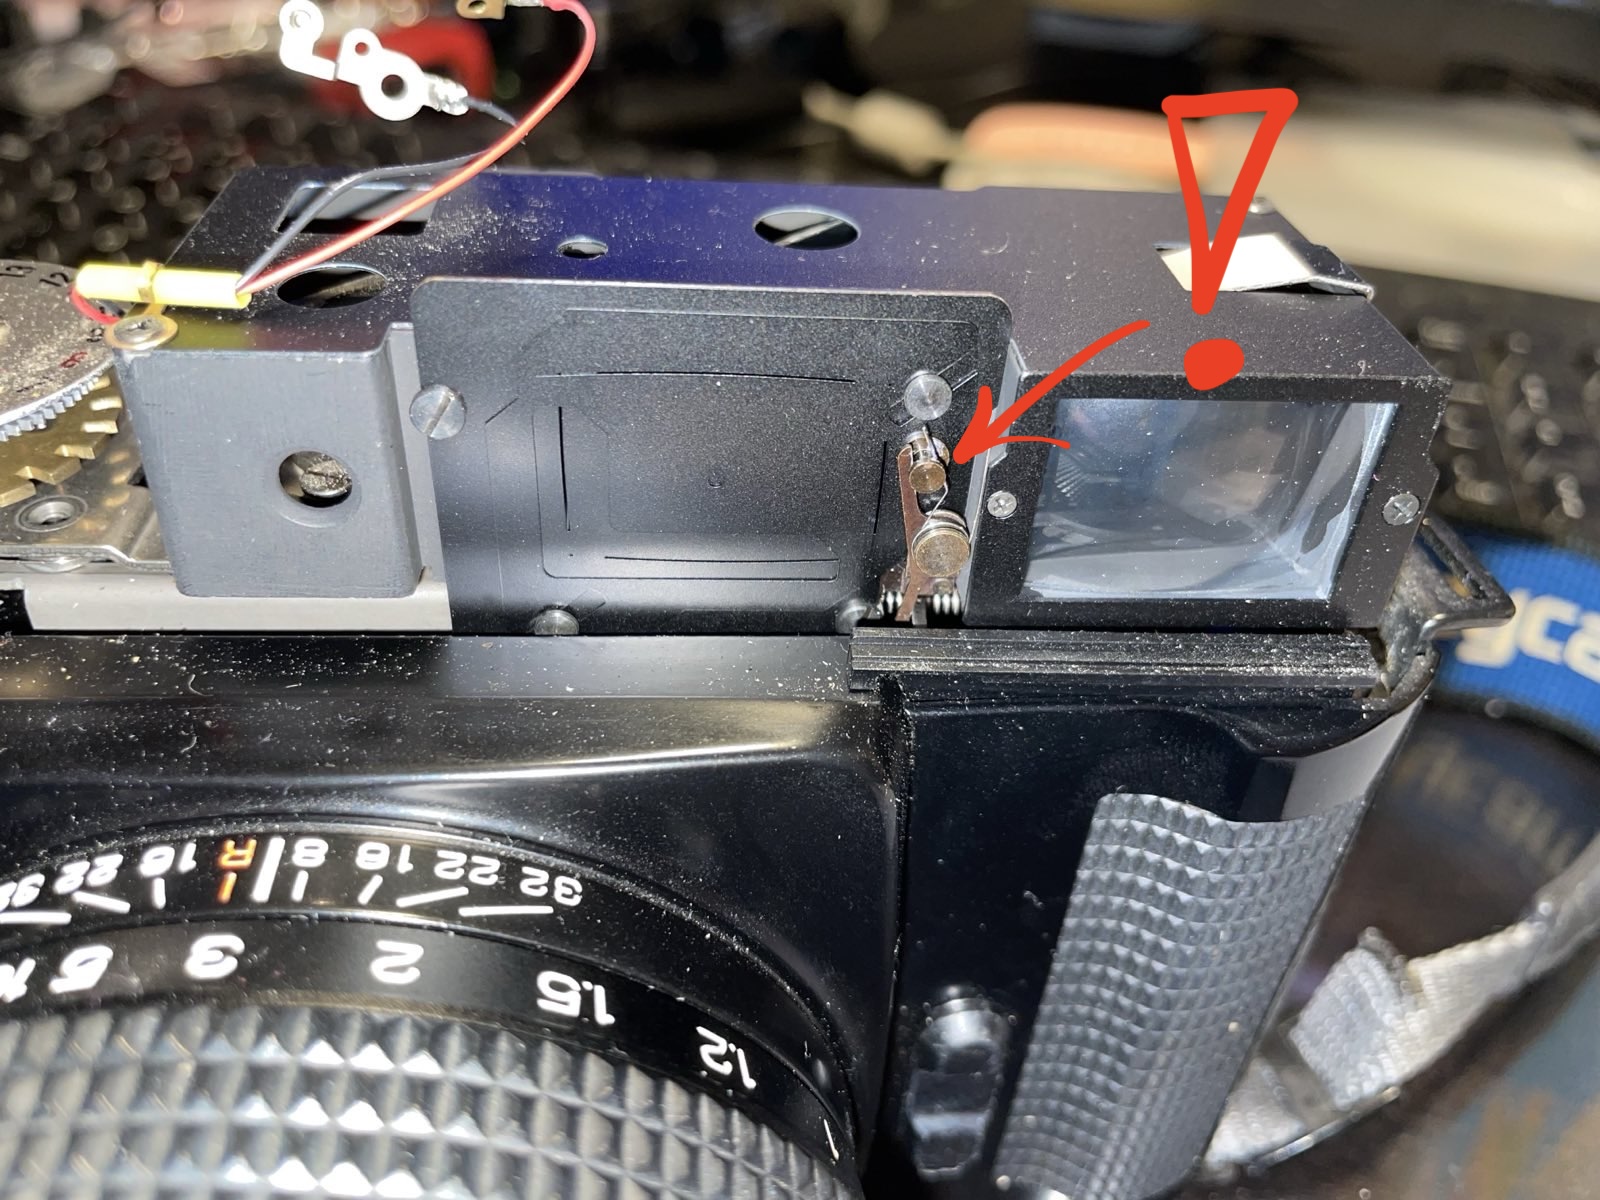
Watch out for the tiny spring (!) if you take this apart. Almost caught me.
Otherwise it’s pretty simple to take apart and should be easy to hack with the right tools. I am on lookout for either 0.1mm plastic I can lasercut a new screen out of using our makerspace’s low-power laser or alternatively something to poke clean slits to the metal one with.
In addition to the panoramic focus lines, my goals include finding a way to decouple the winder from the take-up spool momentarely and fixing a rewind lever onto the canister side, essentially allowing for normal 35mm rewind procedure and making the use of portable darkness unnecessary when switching a new roll in.
Leave a Reply